Hide products from Google & Shopify Search
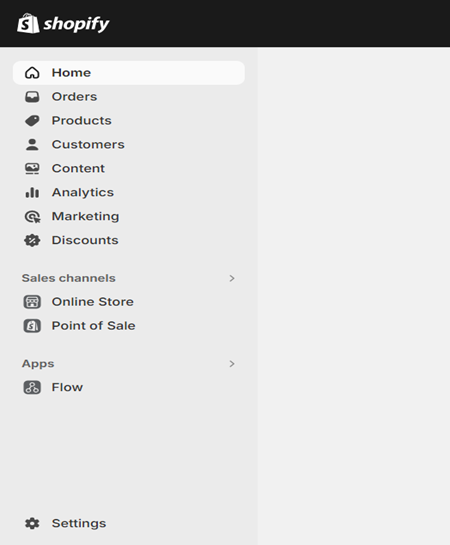
1. Access Your Shopify Admin
Log in to your account to enter the backend of your store. Familiarize yourself with the intuitive Shopify admin page and interface, setting the stage for effortless product management. Think of it as your store's control center, where you manage everything from products to payments.
2. Navigate to product metafields
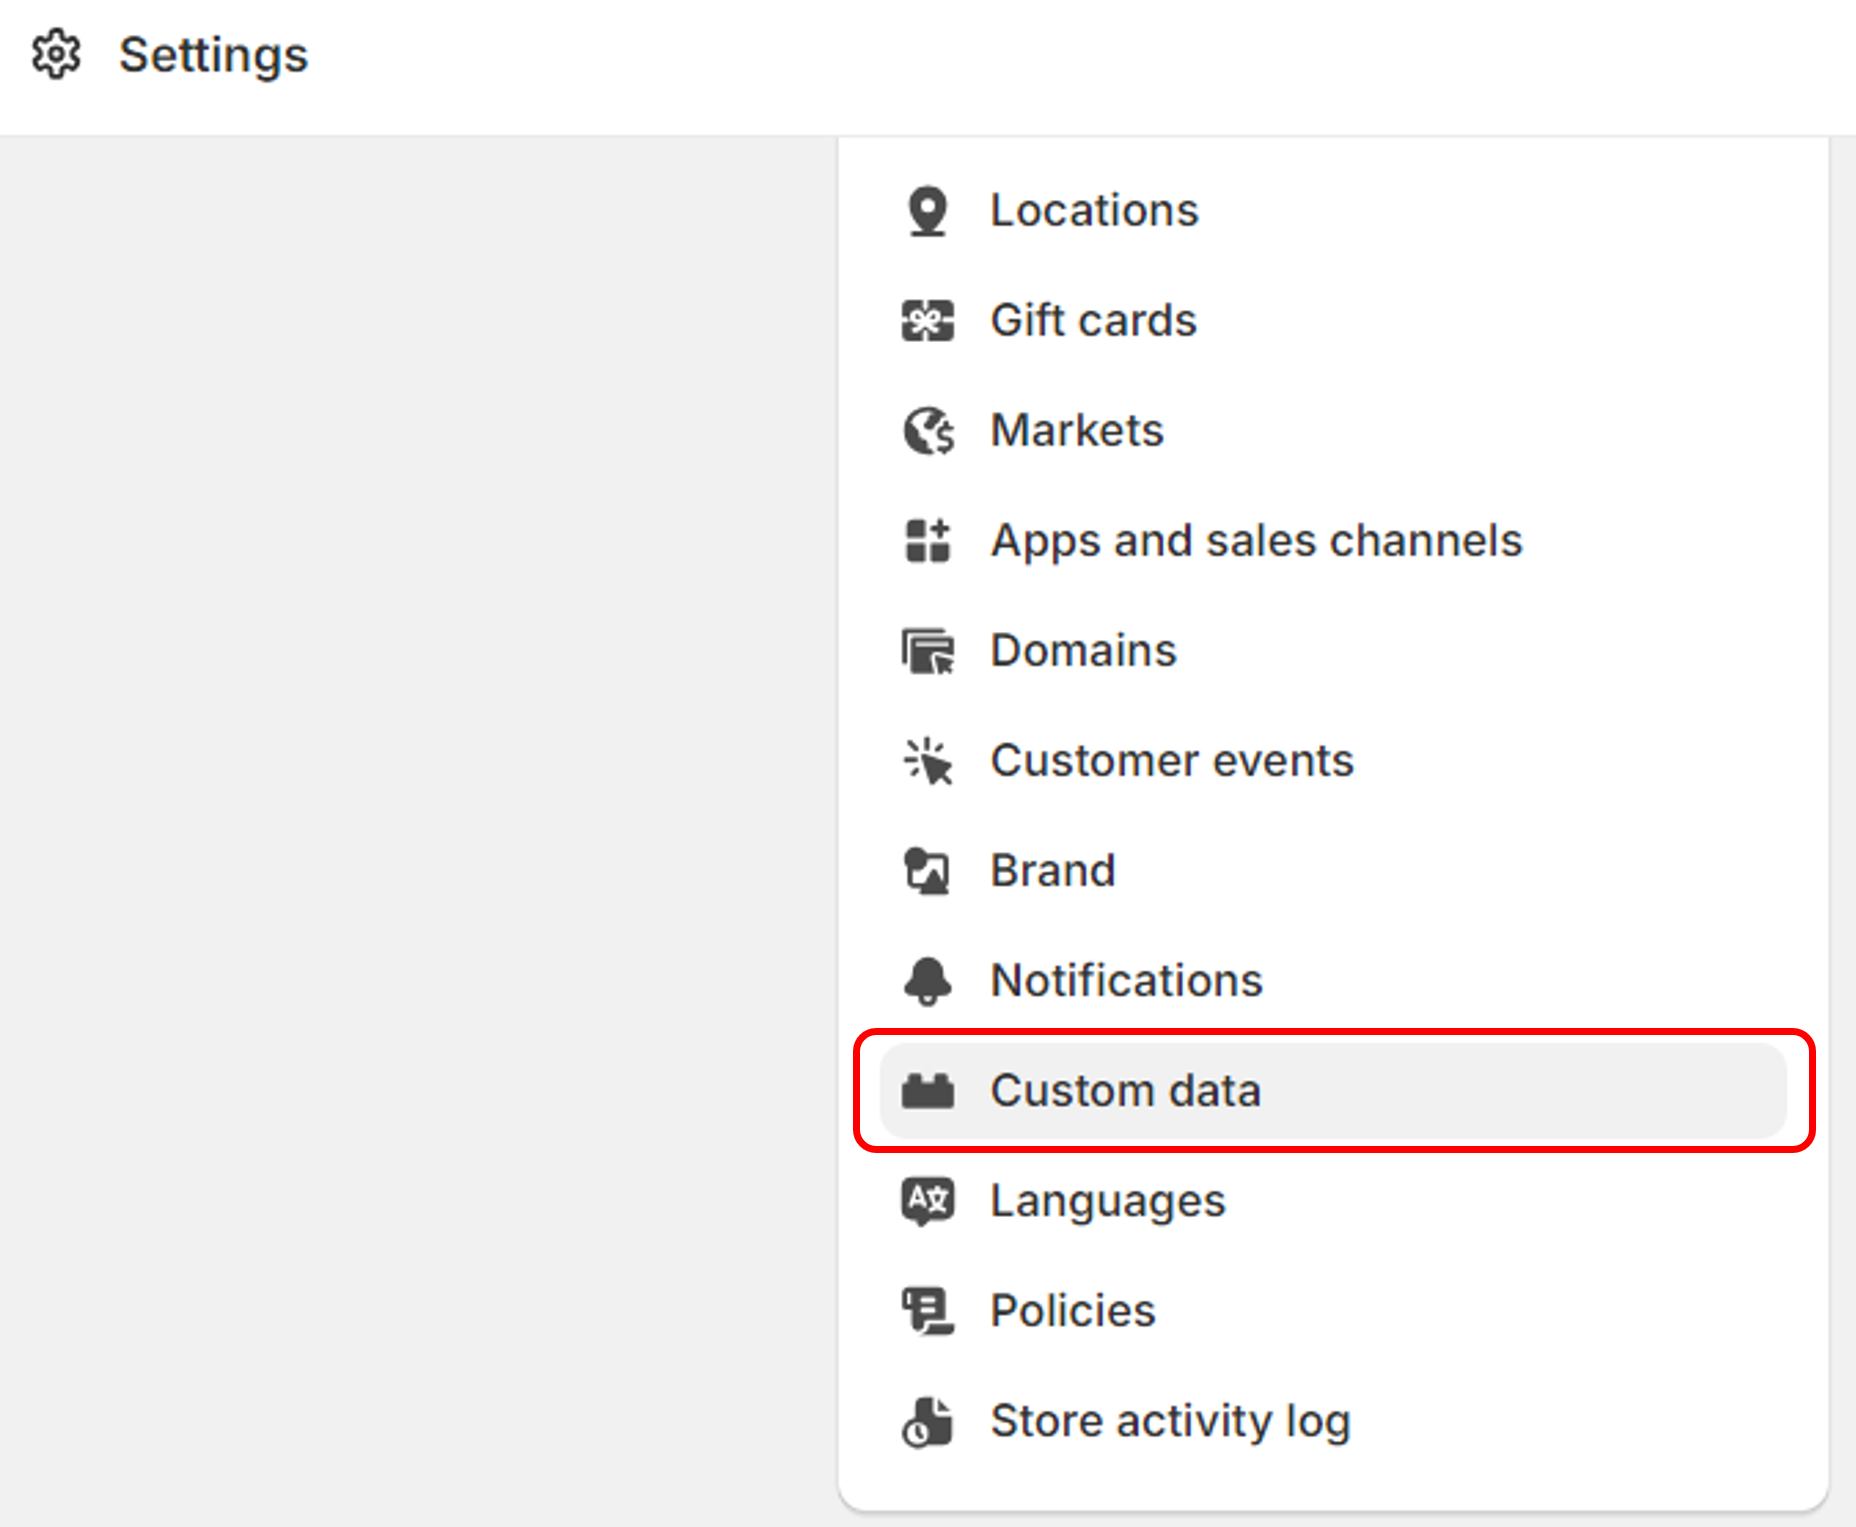
Once you login to your Shopify admin account, click on “Settings” on the bottom left corner and select “custom data”. This will redirect you to Shopify metafields section. Under this section, click on “products”.
3. Creating a new metafield for the product
Now you are at product metafield definitions page. In this section, create a new metafield for the product. Click on “Add definition”. Under the subfield “Name” enter “Hide from search”. In the “Namespace and Key” section, write “seo.hidden” and set the field type to “integer” and click on save.

4. Navigate to the Product(s) section
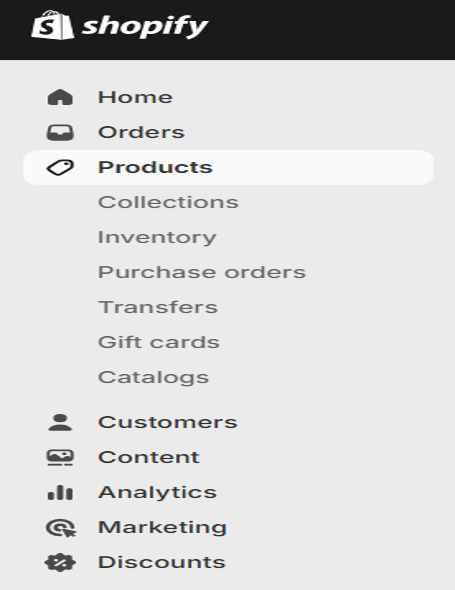
Now, navigate to the ‘Products’ section on the home page. This central hub holds the key to managing your app and entire product catalog. Here, you can seamlessly browse through your list of products, laying the groundwork for the next steps.
5. Select the Products you want to hide
Identify the specific product or products you wish to temporarily hide from your shopify storefront. Browse alphabetically, use the store search bar, or even filter product list by collections – whatever works best for you. Click on the product to access its individual settings.
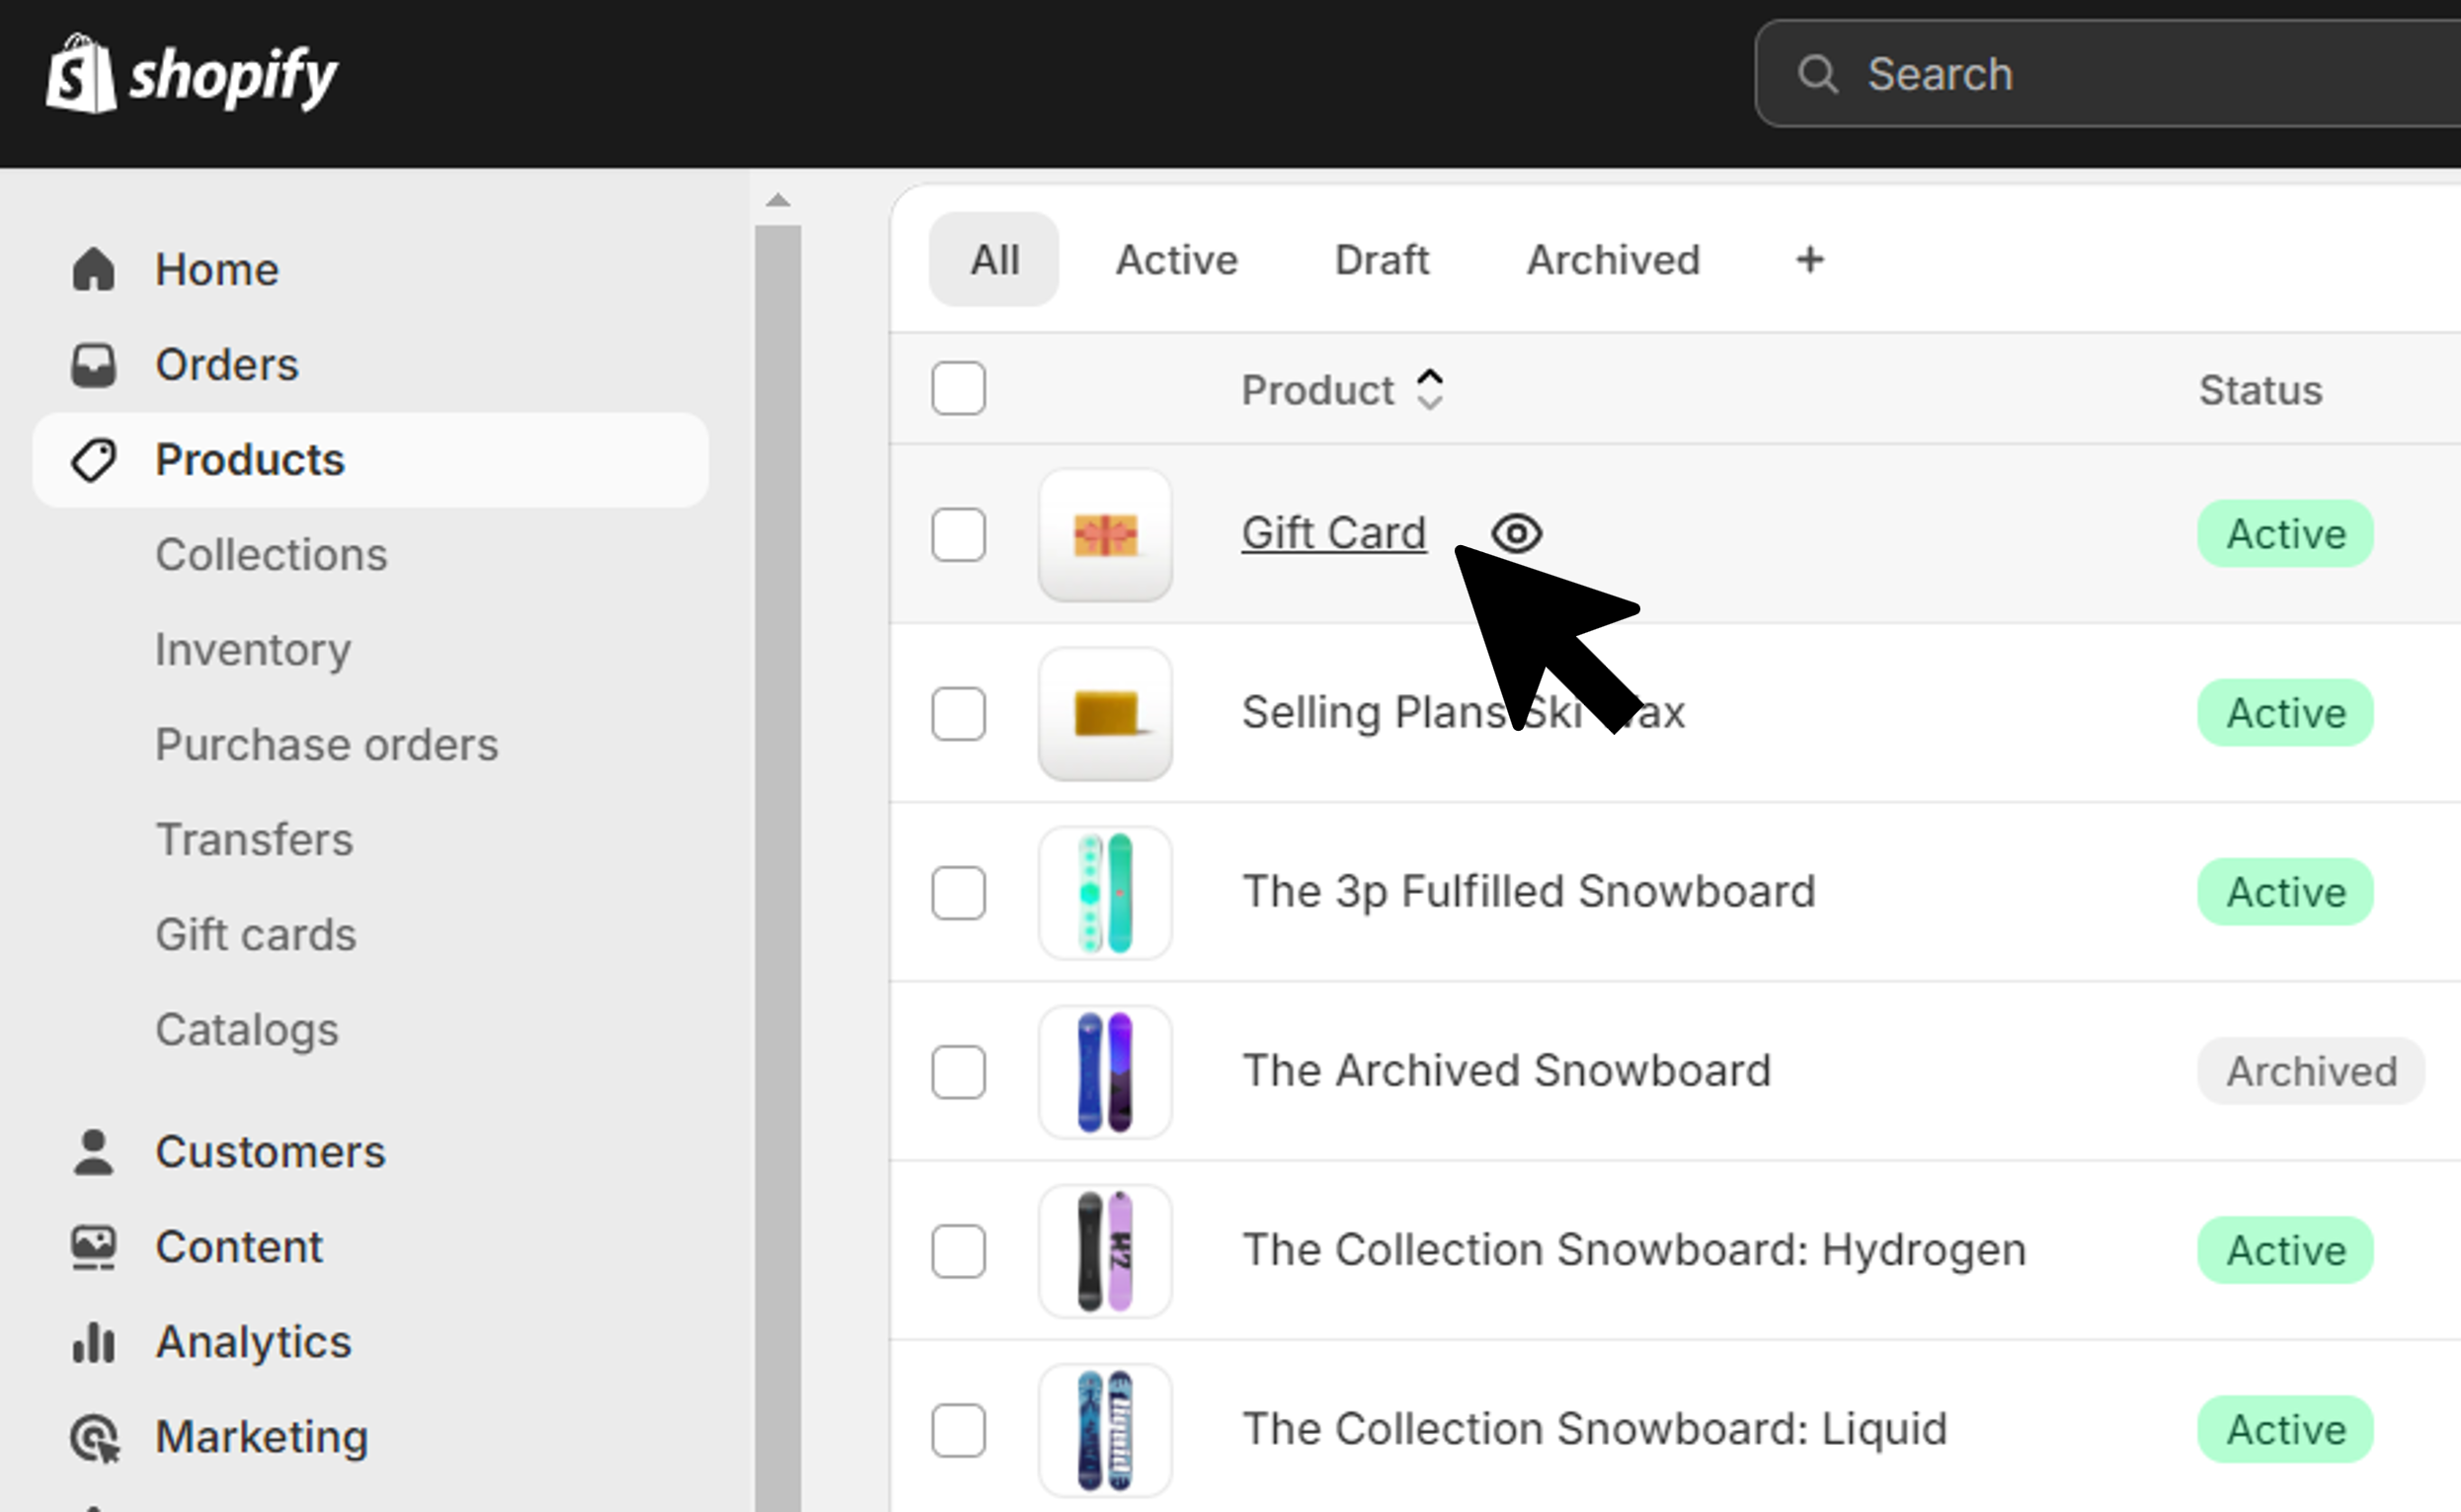
This step ensures precision in your product management strategy, allowing you to focus on individual items within your inventory.
6. Editing the Product visibility settings
Within the product details, scroll down and locate the metafield to hide product that you just added in your search engine listing preview. Set the value to 1 in the box provided for the metafield named “Hide from search”.
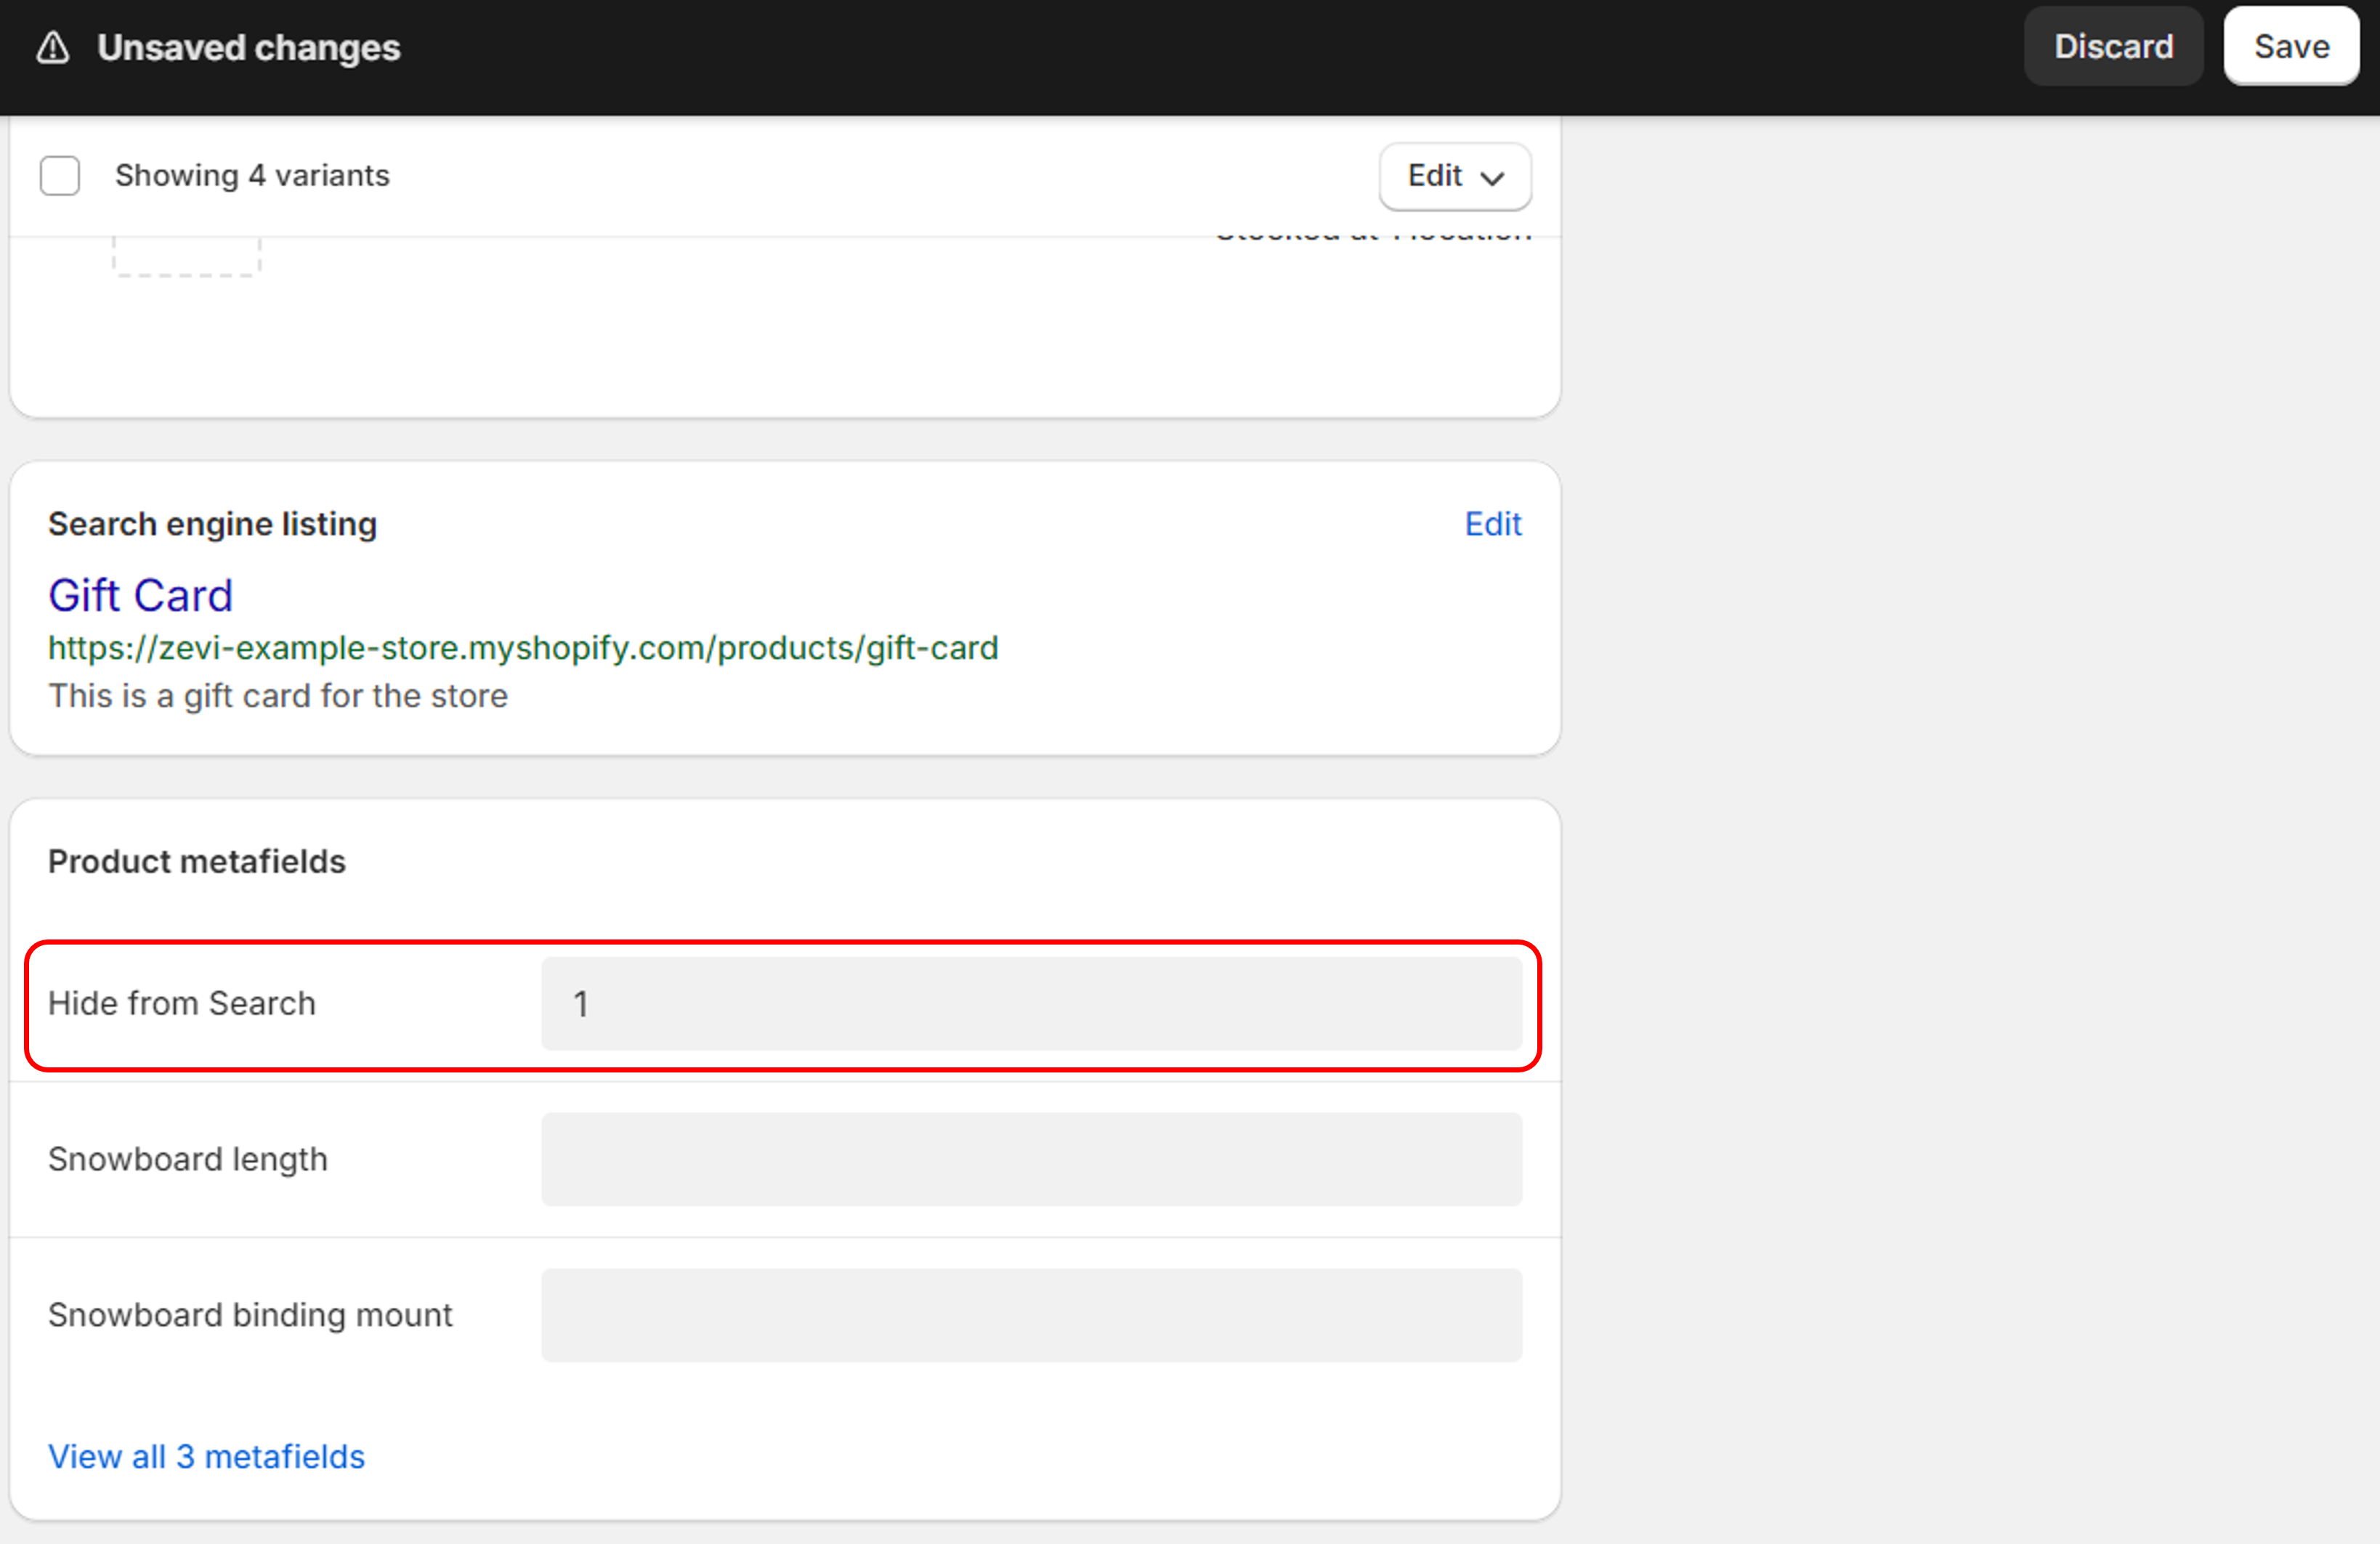
Tip: Regularly review and update your hidden collection to align with changing business goals. Custom coding can be applied here to tailor the visibility settings.
7. Saving the changes
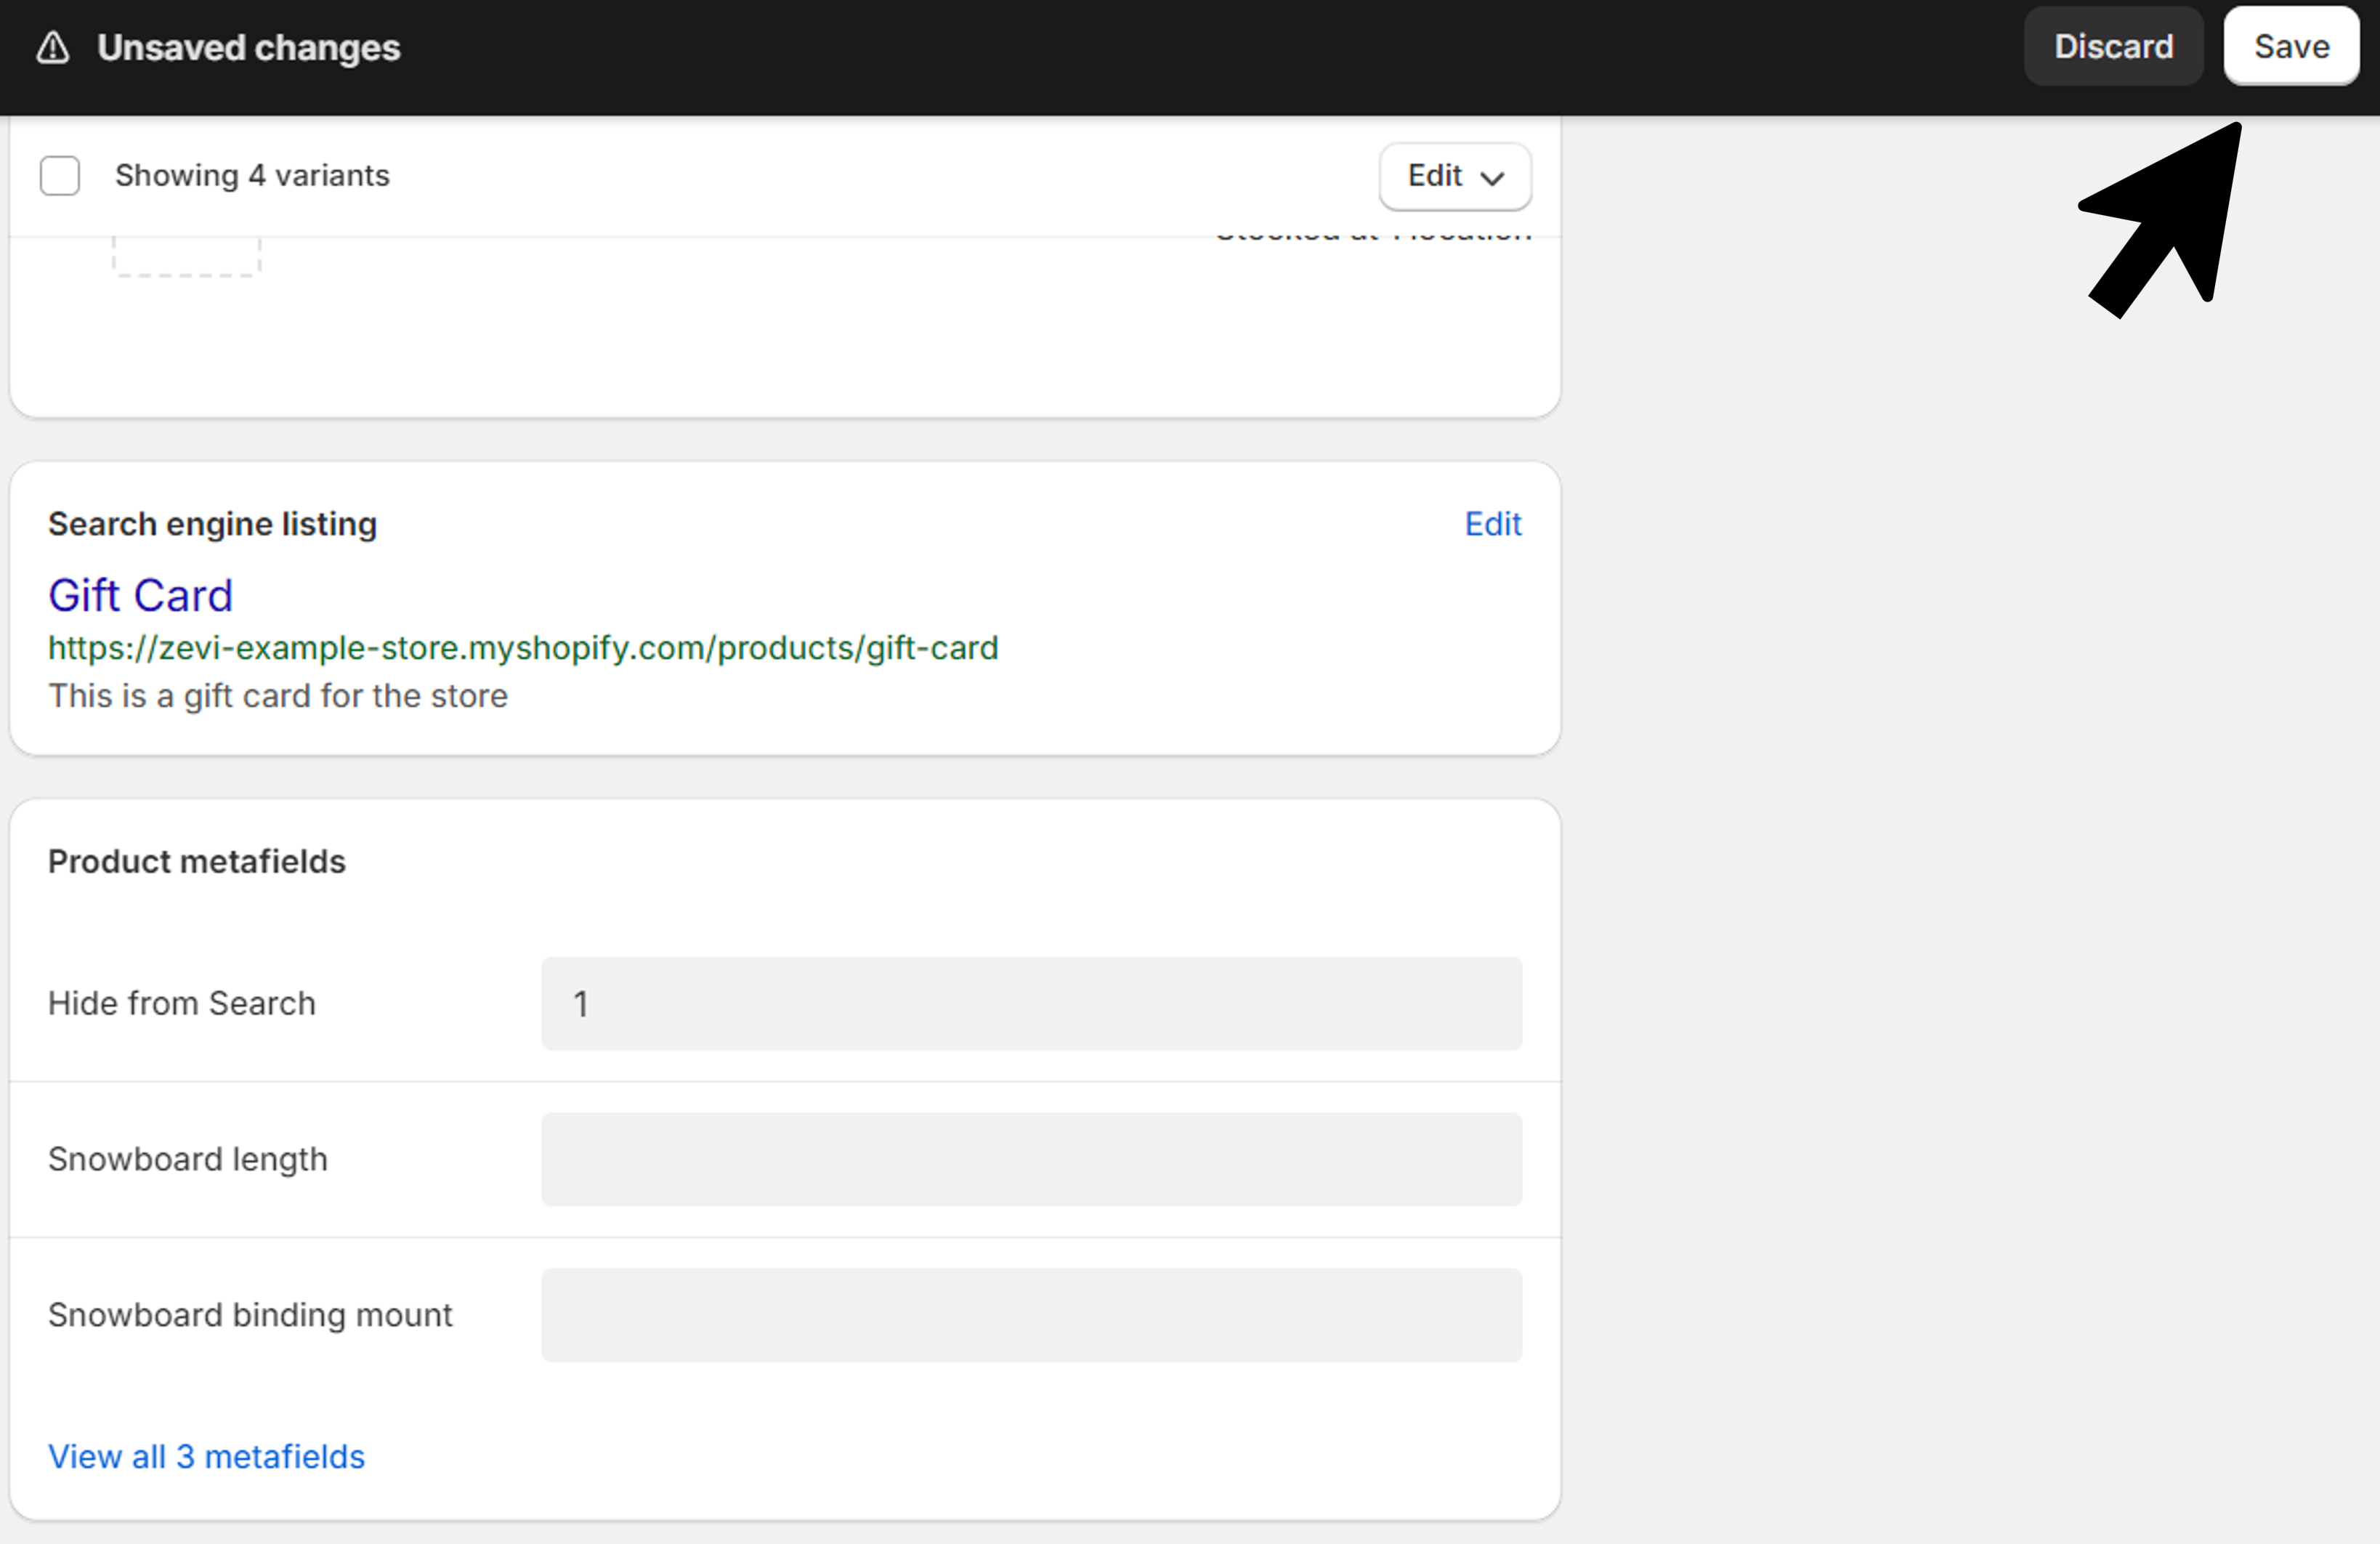
Once all of this is done, do not forget to save the changes. This simple step ensures that modifications take effect immediately.
8. Publishing the updated settings
Wrap up the process by publishing the updated settings. This final step ensures that your changes are reflected on your live Shopify store.
Your efforts to hide a product is now successfully implemented, contributing to a more streamlined and tailored online shopping experience for certain customers.
Related Articles
Shopify Subscriptions
The Shopify Subscriptions app is connected to your Shopify store, so you can build and manage your subscriptions without leaving your admin. Adding subscriptions as a purchase option lets you sell products on a recurring basis. By using the Shopify ...Hide products in all collection
Add this code in main-collection-product-grid.liquid: {% for product in collection.products %} {% unless product.metafields.seo.hidden.value == 1 %} {% render 'product-card', product: product %} {% endunless %} {% endfor %}Change predictive search image to square
In predictive-search-products-list.liquid, search for "image_aspect_ratio:" and change all to 1 / 1 ratio.Adding and updating products
You can add new products, or update product information such as price, variants, and availability, from the Productspage in your Shopify admin, or in the Shopify app.Selling digital products
Along with physical goods, you can also sell digital goods on your Shopify store. Digital goods are often available to the customer immediately after they make their purchase. Some common digital products are online services and downloadable files, ...